

Join on WhatsApp
Get the latest updates directly on WhatsApp – motivation, news & more!
 Join On WhatsApp
Growing red chili at home can be one of the most rewarding gardening experiences, even for beginners. With just a little time, care, and patience, you can cultivate vibrant chili plants right on your balcony, terrace, or backyard. Whether you’re an aspiring home chef or a garden enthusiast, learning to grow red chili gives you a fresh supply of spice and a sense of satisfaction that comes from growing your own food.
Red chili, known for its heat and vibrant color, thrives in warm climates and well-drained soil. The process is surprisingly straightforward and requires minimal space and resources, making it perfect for city dwellers and rural gardeners alike.
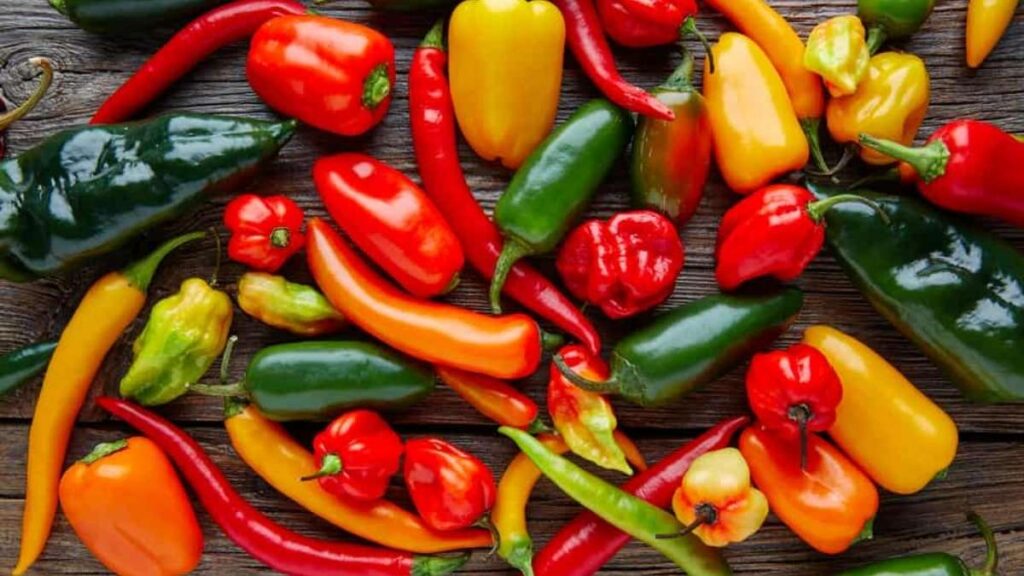
Choosing the Right Chili Variety
The first step in your chili-growing journey is choosing the right variety. There are several types of red chili peppers, from mild to extremely hot. For beginners, it’s best to start with a common red chili variety like cayenne or Indian long chili, which are easier to grow and care for.
Seed selection is important. You can buy quality seeds from a nursery or garden center. Alternatively, you can collect seeds from a mature chili you’ve purchased. However, store-bought seeds often provide better germination rates and are disease-resistant.
Starting with Seeds Indoors
Red chili plants are usually grown from seeds. Start by preparing a seed tray or small pots with a well-draining potting mix. Fill the container with moist soil, then plant the seeds about half an inch deep. Gently cover them with a thin layer of soil.
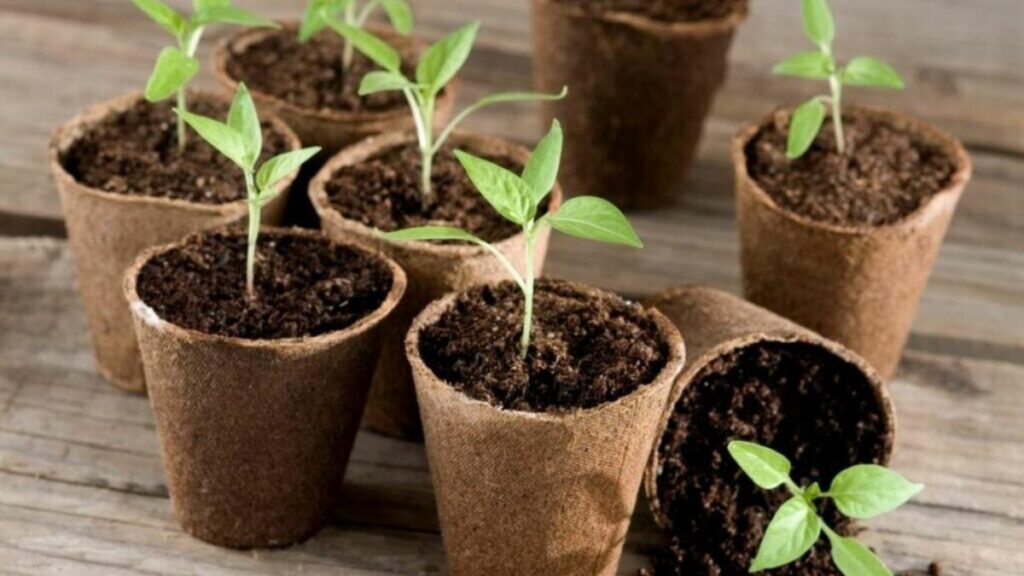
Place the seed tray in a warm area that receives indirect sunlight. Chili seeds need warmth to germinate, so maintaining a temperature between 25 to 30 degrees Celsius will encourage sprouting. Water lightly every day or every other day, making sure the soil stays moist but not soggy.

Germination usually takes between 7 to 14 days. Once you see small green shoots emerging from the soil, you know the process is working.
Transplanting the Seedlings
When the seedlings have developed two to three sets of true leaves and are about 3 to 4 inches tall, it’s time to transplant them into larger pots or directly into the garden. Choose a sunny spot, as chili plants need at least 6 to 8 hours of sunlight daily to grow healthy and produce fruit.
If you are using pots, choose containers that are at least 12 inches deep with good drainage. Fill them with a mix of garden soil, compost, and a little sand to improve drainage. Make a small hole in the center, carefully lift the seedling without damaging the roots, and place it in the new pot. Firm the soil around it gently and water lightly.
Caring for the Chili Plant
Watering is a key factor in growing red chili. The plant needs regular watering but does not tolerate waterlogged soil. Overwatering can cause the roots to rot. During the early stages, water the plant every 2 to 3 days. As it grows, reduce the frequency but ensure the soil does not completely dry out.
Chili plants also need proper nutrition. You can use organic compost or a balanced fertilizer once every two weeks to keep the plant healthy and promote flowering. Avoid over-fertilizing, as it can lead to lush foliage but fewer fruits.
Pruning the plant helps encourage bushier growth. Once your plant reaches about 8 inches in height, pinch off the top to allow side branches to develop. This will result in more flowers and ultimately more chilies.

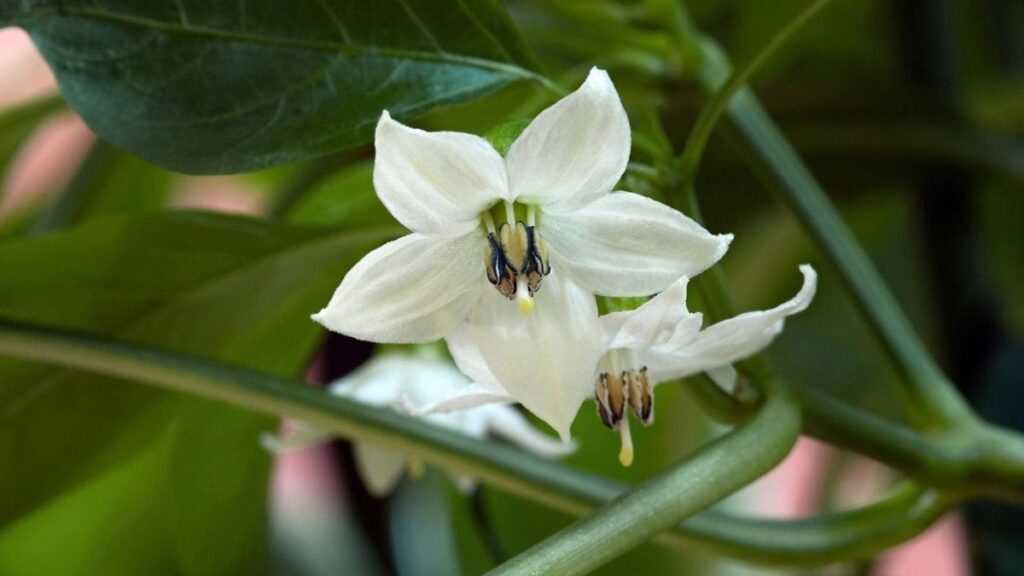
Pollination and Flowering
Chili plants begin to flower within 2 to 3 months after planting. These flowers are self-pollinating, which means they don’t rely heavily on insects to produce fruit. However, a little assistance can boost your yield. You can gently shake the plant or use a soft brush to move pollen between flowers.
If you’re growing the plant indoors, make sure there is good air circulation and adequate light. Without it, flowers may drop before setting fruit.
Dealing with Common Pests and Diseases
Like most garden plants, red chili plants are vulnerable to a few pests and diseases. Aphids, whiteflies, and spider mites are the most common problems. If you notice curled leaves, sticky residue, or tiny insects, act quickly. A mild soap spray or neem oil solution works well as a natural pesticide and is safe for edible plants.
Fungal infections can also affect the plant, especially in humid conditions. Ensure proper air circulation, avoid overwatering, and remove any infected leaves immediately to prevent the spread.
Healthy plants with the right care are usually resilient and can fight off most pests without much trouble.
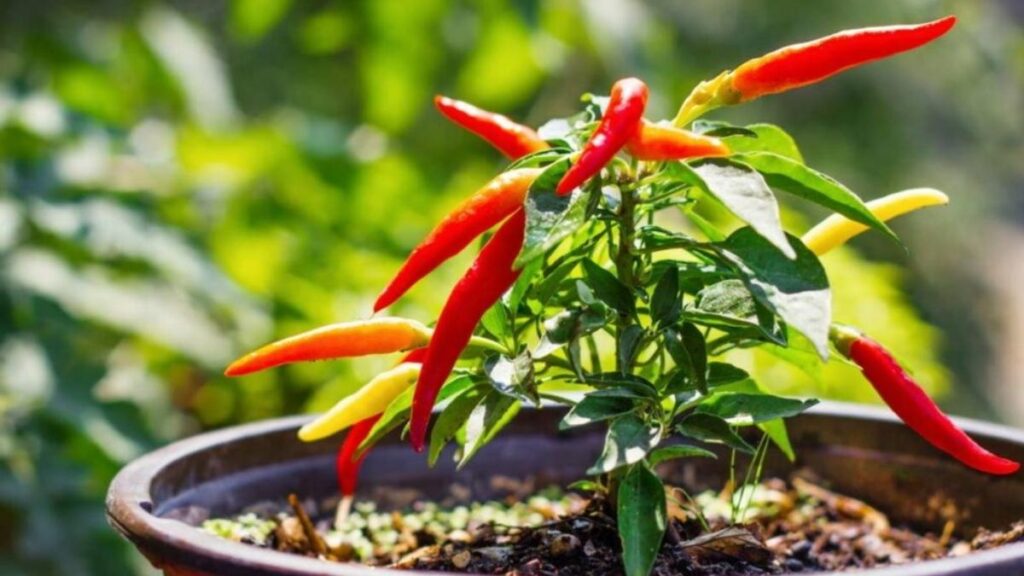
Harvesting Red Chilies
Red chilies are typically ready for harvest around 70 to 90 days after transplanting, depending on the variety and growing conditions. The chilies will first appear green and gradually turn red as they mature. You can pick them when they are fully red for maximum flavor and heat.
Use a sharp pair of scissors or garden shears to cut the chili from the plant, leaving a short stem attached. This method prevents damage to the plant and encourages more fruit production.

Harvesting regularly promotes continuous fruiting. If you let chilies stay too long on the plant, it may slow down new flower formation. Keep checking the plant every few days to pick ripe chilies.
Storing and Using Your Chilies
Once harvested, red chilies can be used fresh, dried, or stored in oil or vinegar. To dry chilies, simply string them up and hang them in a dry, airy spot out of direct sunlight. Once fully dried, you can crush them into flakes or powder for cooking.
You can also freeze fresh chilies for later use. Just wash, dry, and store them in a freezer-safe bag. If stored properly, dried chilies can last several months without losing their flavor.
Red chilies are a staple in many cuisines, and having your own homegrown supply can enhance your cooking and add a personal touch to every dish.
Final Thoughts
Growing red chili at home is an enjoyable and fulfilling hobby that brings color, flavor, and heat to your kitchen garden. With basic tools, a sunny spot, and a little dedication, even beginners can enjoy a bountiful harvest. The process teaches patience and care while providing an organic, chemical-free spice source right at your fingertips.
Whether you’re planting a few pots on your balcony or dedicating a small patch in your backyard, chili plants adapt well and reward you generously. Start small, learn as you go, and before long, you’ll be harvesting your own vibrant red chilies, straight from the soil to the stove.