
Join on WhatsApp
Get the latest updates directly on WhatsApp – motivation, news & more!
 Join On WhatsApp
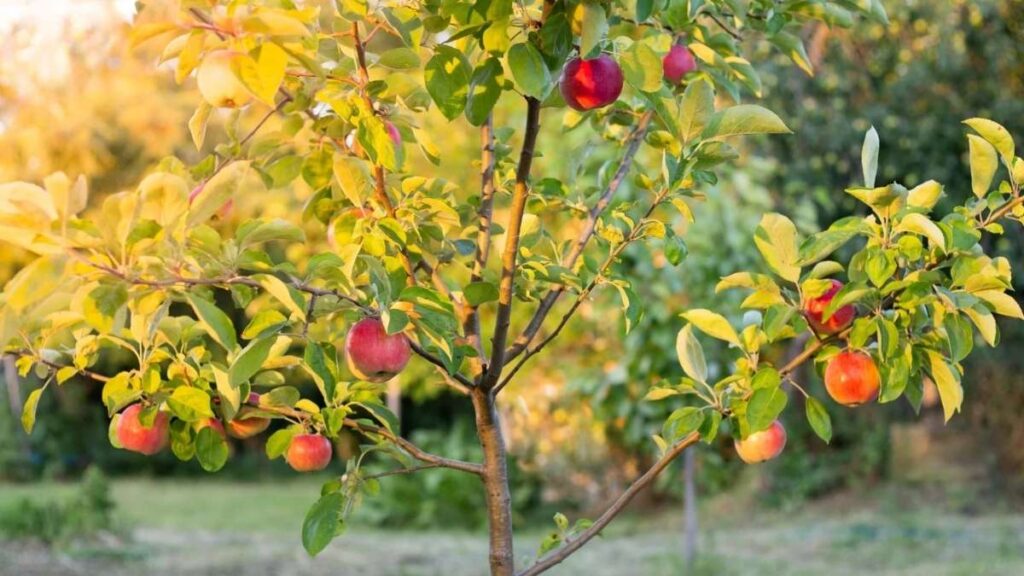
Growing an apple tree from seed is a rewarding, though sometimes patient, experience. Whether you’re interested in cultivating your own fruit at home or just enjoy the idea of growing a tree from scratch, starting from seed can be a fun and fulfilling project. However, it’s important to understand that apple trees grown from seed may not produce the same type of fruit as the parent apple. Nonetheless, if you’re willing to invest the time and care, you’ll have the satisfaction of nurturing your own tree from seed to fruit-bearing plant. Here’s a step-by-step guide to growing your very own apple tree from seed.
Collecting Apple Seeds
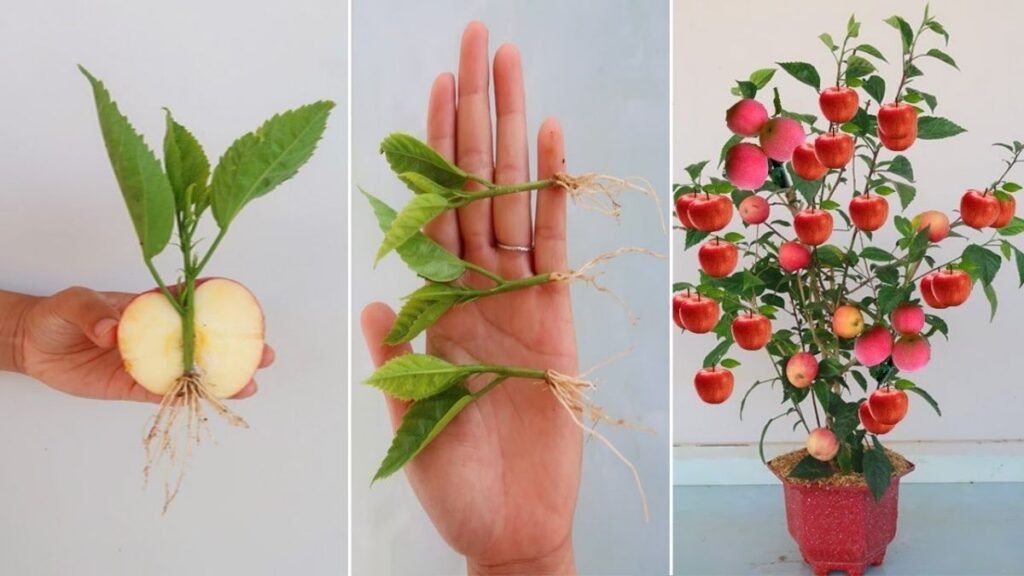
The first step in growing an apple tree is to collect seeds from a ripe apple. When choosing the right apple, remember that it’s best to pick an apple that is fresh and fully mature, as the seeds inside will be more likely to sprout. Any variety of apple can be used, but it’s important to keep in mind that apple trees grown from seed may not yield the same quality fruit as the parent apple. This is because apples are typically cross-pollinated, meaning the seeds you collect could produce a hybrid fruit.
Once you’ve selected a ripe apple, cut it open and remove the seeds. Be careful to remove all the seeds, as leaving them in the fruit could affect their viability. After collecting the seeds, rinse them in cool water to remove any fruit residue. Allow the seeds to dry for a few days before proceeding with the next step.
Stratification: Preparing Your Seeds for Planting
Apple seeds need a cold period to break their dormancy and begin the germination process. This is called stratification, and it mimics the natural winter conditions apple seeds would experience outdoors. There are two methods to stratify your seeds: the fridge method and the outdoor method. The fridge method is more common, as it allows for more control over the temperature.
To stratify your apple seeds, you’ll need to place them in a moist medium, such as a paper towel or peat moss. Moisten the medium, then place the seeds inside. Fold the towel or moss around the seeds to keep them contained. After that, put the wrapped seeds in a plastic bag or container and store them in the refrigerator. The seeds need to be kept at a consistent temperature of about 40°F (4°C) for a period of 6 to 8 weeks. This chilling period mimics the winter months and helps the seeds prepare for germination.

After the stratification period, your seeds should be ready to plant. If you’re following the outdoor method, you can plant the seeds directly in the ground, but this method takes longer and is more subject to external conditions. The fridge method, on the other hand, provides a more controlled environment and generally gives more consistent results.
Planting Your Seeds
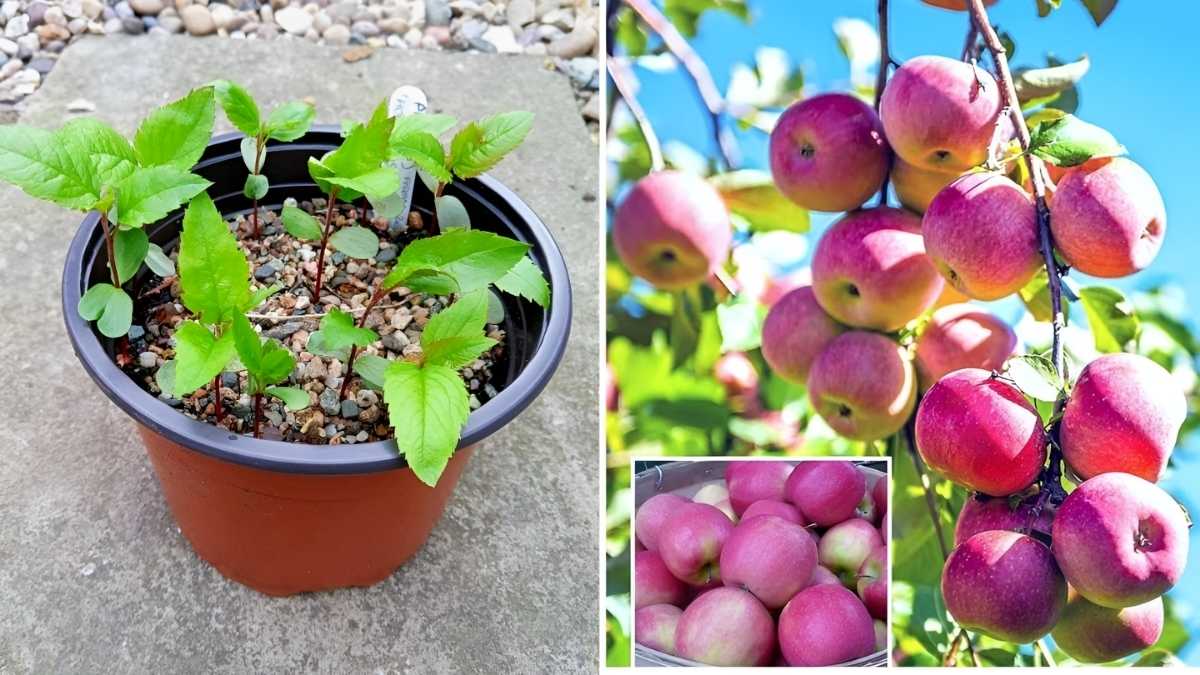
Once your seeds have completed the stratification process, it’s time to plant them. You’ll need a small pot with drainage holes to allow excess water to escape, preventing the seeds from rotting. Fill the pot with a well-draining potting mix, leaving about an inch of space at the top for watering.
Plant the seeds about half an inch deep into the soil. You can plant several seeds in one pot, but make sure to space them out to avoid overcrowding as they grow. After planting, gently water the soil until it’s moist, but not soaking wet. Keep the pot in a warm location with indirect sunlight.
As the seeds begin to germinate, they will send up tiny green shoots. It’s important to be patient at this stage, as it can take anywhere from 2 to 8 weeks for seeds to sprout, depending on environmental conditions. Make sure the soil remains moist, but not soggy, and continue to keep the pot in a warm, sunny spot.
Care for the Seedlings
Once your apple seeds have sprouted into seedlings, you’ll need to take good care of them to ensure they grow strong and healthy. At this point, the seedlings will need plenty of light to continue developing. A sunny windowsill or grow light can provide the bright, indirect sunlight they need. Make sure to rotate the pot regularly to encourage even growth, as seedlings tend to lean toward the light.
Water the seedlings regularly, but again, make sure the soil doesn’t become too wet. Overwatering can lead to root rot, so it’s important to allow the top layer of soil to dry out between waterings. If you notice the seedlings are getting leggy (tall and spindly), it may be a sign that they’re not getting enough light. Increase the amount of light they’re receiving to encourage healthy growth.
As the seedlings grow larger, you may need to transplant them into a larger pot to give their roots more space. Be careful when handling the young plants, as their roots are delicate and can easily be damaged. If you notice any yellowing or weak leaves, check for pests, disease, or nutrient deficiencies. You can occasionally fertilize the seedlings with a balanced liquid fertilizer to promote healthy growth, but be cautious not to overfeed them.
Transplanting the Young Tree Outdoors
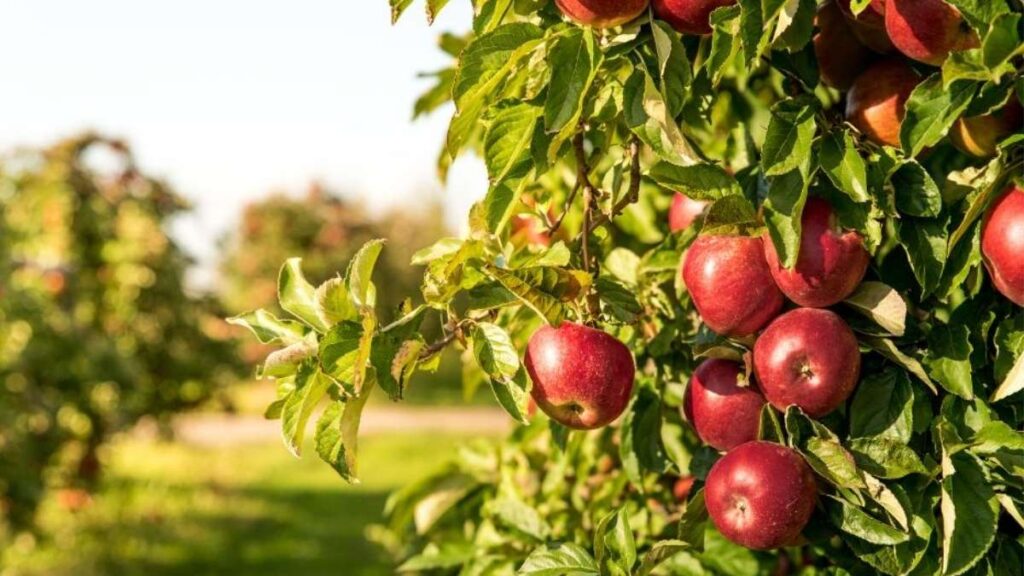
Once your apple tree seedlings have developed into healthy young plants, it’s time to think about transplanting them outdoors. However, it’s important to wait until the seedlings are large enough to withstand outdoor conditions, and it’s generally best to transplant them in the spring after the last frost has passed.
Before transplanting, choose a location in your garden that gets plenty of sunlight, as apple trees need full sun to thrive. The soil should be well-draining, slightly acidic to neutral, and rich in organic matter. Apple trees also need space to grow, so be sure to plant your young tree far enough away from other plants and structures to allow for future growth.
To transplant, dig a hole that is slightly larger than the root ball of your seedling. Gently remove the seedling from its pot, being careful not to disturb the roots too much, and place it in the hole. Backfill the hole with soil and water thoroughly to help settle the soil around the roots.
It’s a good idea to mulch around the base of the tree to conserve moisture and keep weeds at bay. After planting, continue to care for the tree by watering regularly, particularly during dry spells. As the tree grows, you may need to stake it to prevent wind damage and encourage straight growth.
Be Patient: Apple Trees Take Time
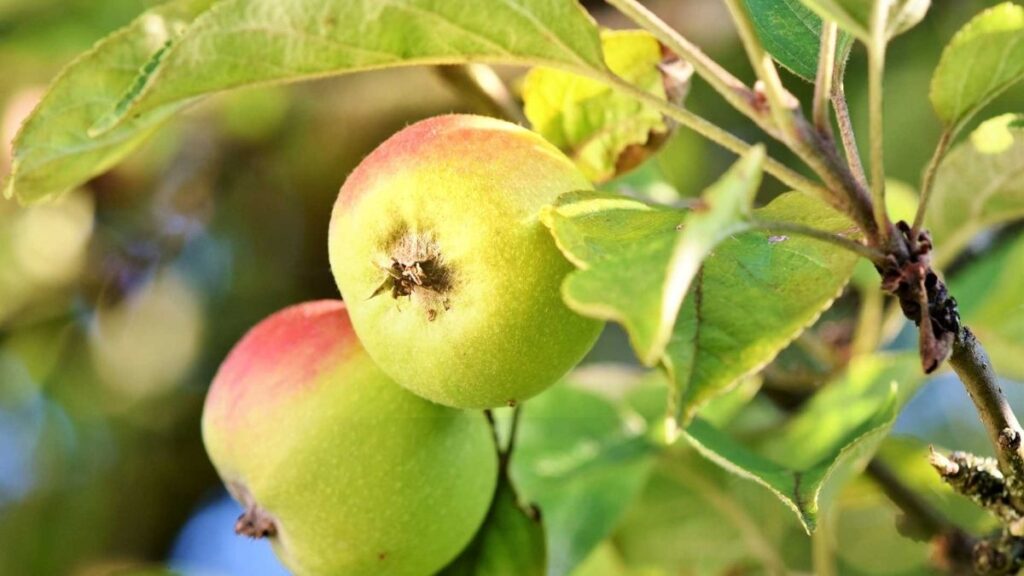
Growing an apple tree from seed requires patience. Apple trees grown from seed may take several years to mature, and it could take 6 to 10 years or more before they bear fruit. Additionally, apple trees grown from seed may not be true to the parent variety, so the fruit produced could differ in taste, size, or quality.

If you’re eager to harvest apples sooner, consider grafting, a technique that involves attaching a branch from a mature tree to a young seedling. Grafting allows you to speed up the process and ensure you get the same quality apples as the parent tree.
Despite the long wait, the process of growing an apple tree from seed can be incredibly rewarding. Watching your tree grow from a tiny seedling to a full-fledged tree that bears fruit is an accomplishment that brings a deep sense of pride. And, of course, there’s nothing quite like the joy of picking and eating apples from a tree you nurtured yourself.
Conclusion
Growing an apple tree from seed is an enjoyable and educational project for gardeners of all experience levels. While it requires patience and care, the reward of having your own apple tree in your yard is well worth the effort. From collecting seeds to transplanting your young tree outdoors, each step offers an opportunity to learn and connect with nature. So grab an apple, collect the seeds, and get started on your journey toward growing your very own apple tree!